How To Make Adventure Films - Part 3/3 - The Edit
How to Achieve Award-Winning Post Production

My Ethos to Editing
The way I approach in edit usually comes in two stages. First, dread… I am very rarely excited about diving into the post production process. I feel like I thrive in those moments where I’m interacting with people and able to explore new places. However, the important storytelling really happens in the edit. You take all the footage from these adventures and it doesn’t mean anything until you start piecing it together. While it may seem like a daunting journey when you first import the clips into your editing software of choice, it can become a great opportunity to be creative and flex your innovation.
Organization is key
The way I begin every edit, regardless of the adventure, is with organization. I take all of the footage, I label it and I sort them into different “bins” on my computer. Every photographer and filmmaker has their own special process for this and while the exact labeling process may vary, the takeaway is that you MUST organize your stuff. If you’re looking for one single 15 second video in a folder that has 24 hours of videos, you may not find it. I always separate by day then by camera then by activity (if shooting more than one activity or event a day). This allows me to quickly find whatever it is I’m looking for whenever I need it.
Organization is definitely not a sexy topic but if you want to create amazing adventure films, it’s a crucial part of the filmmaking journey.
How to Structure the Editing Process
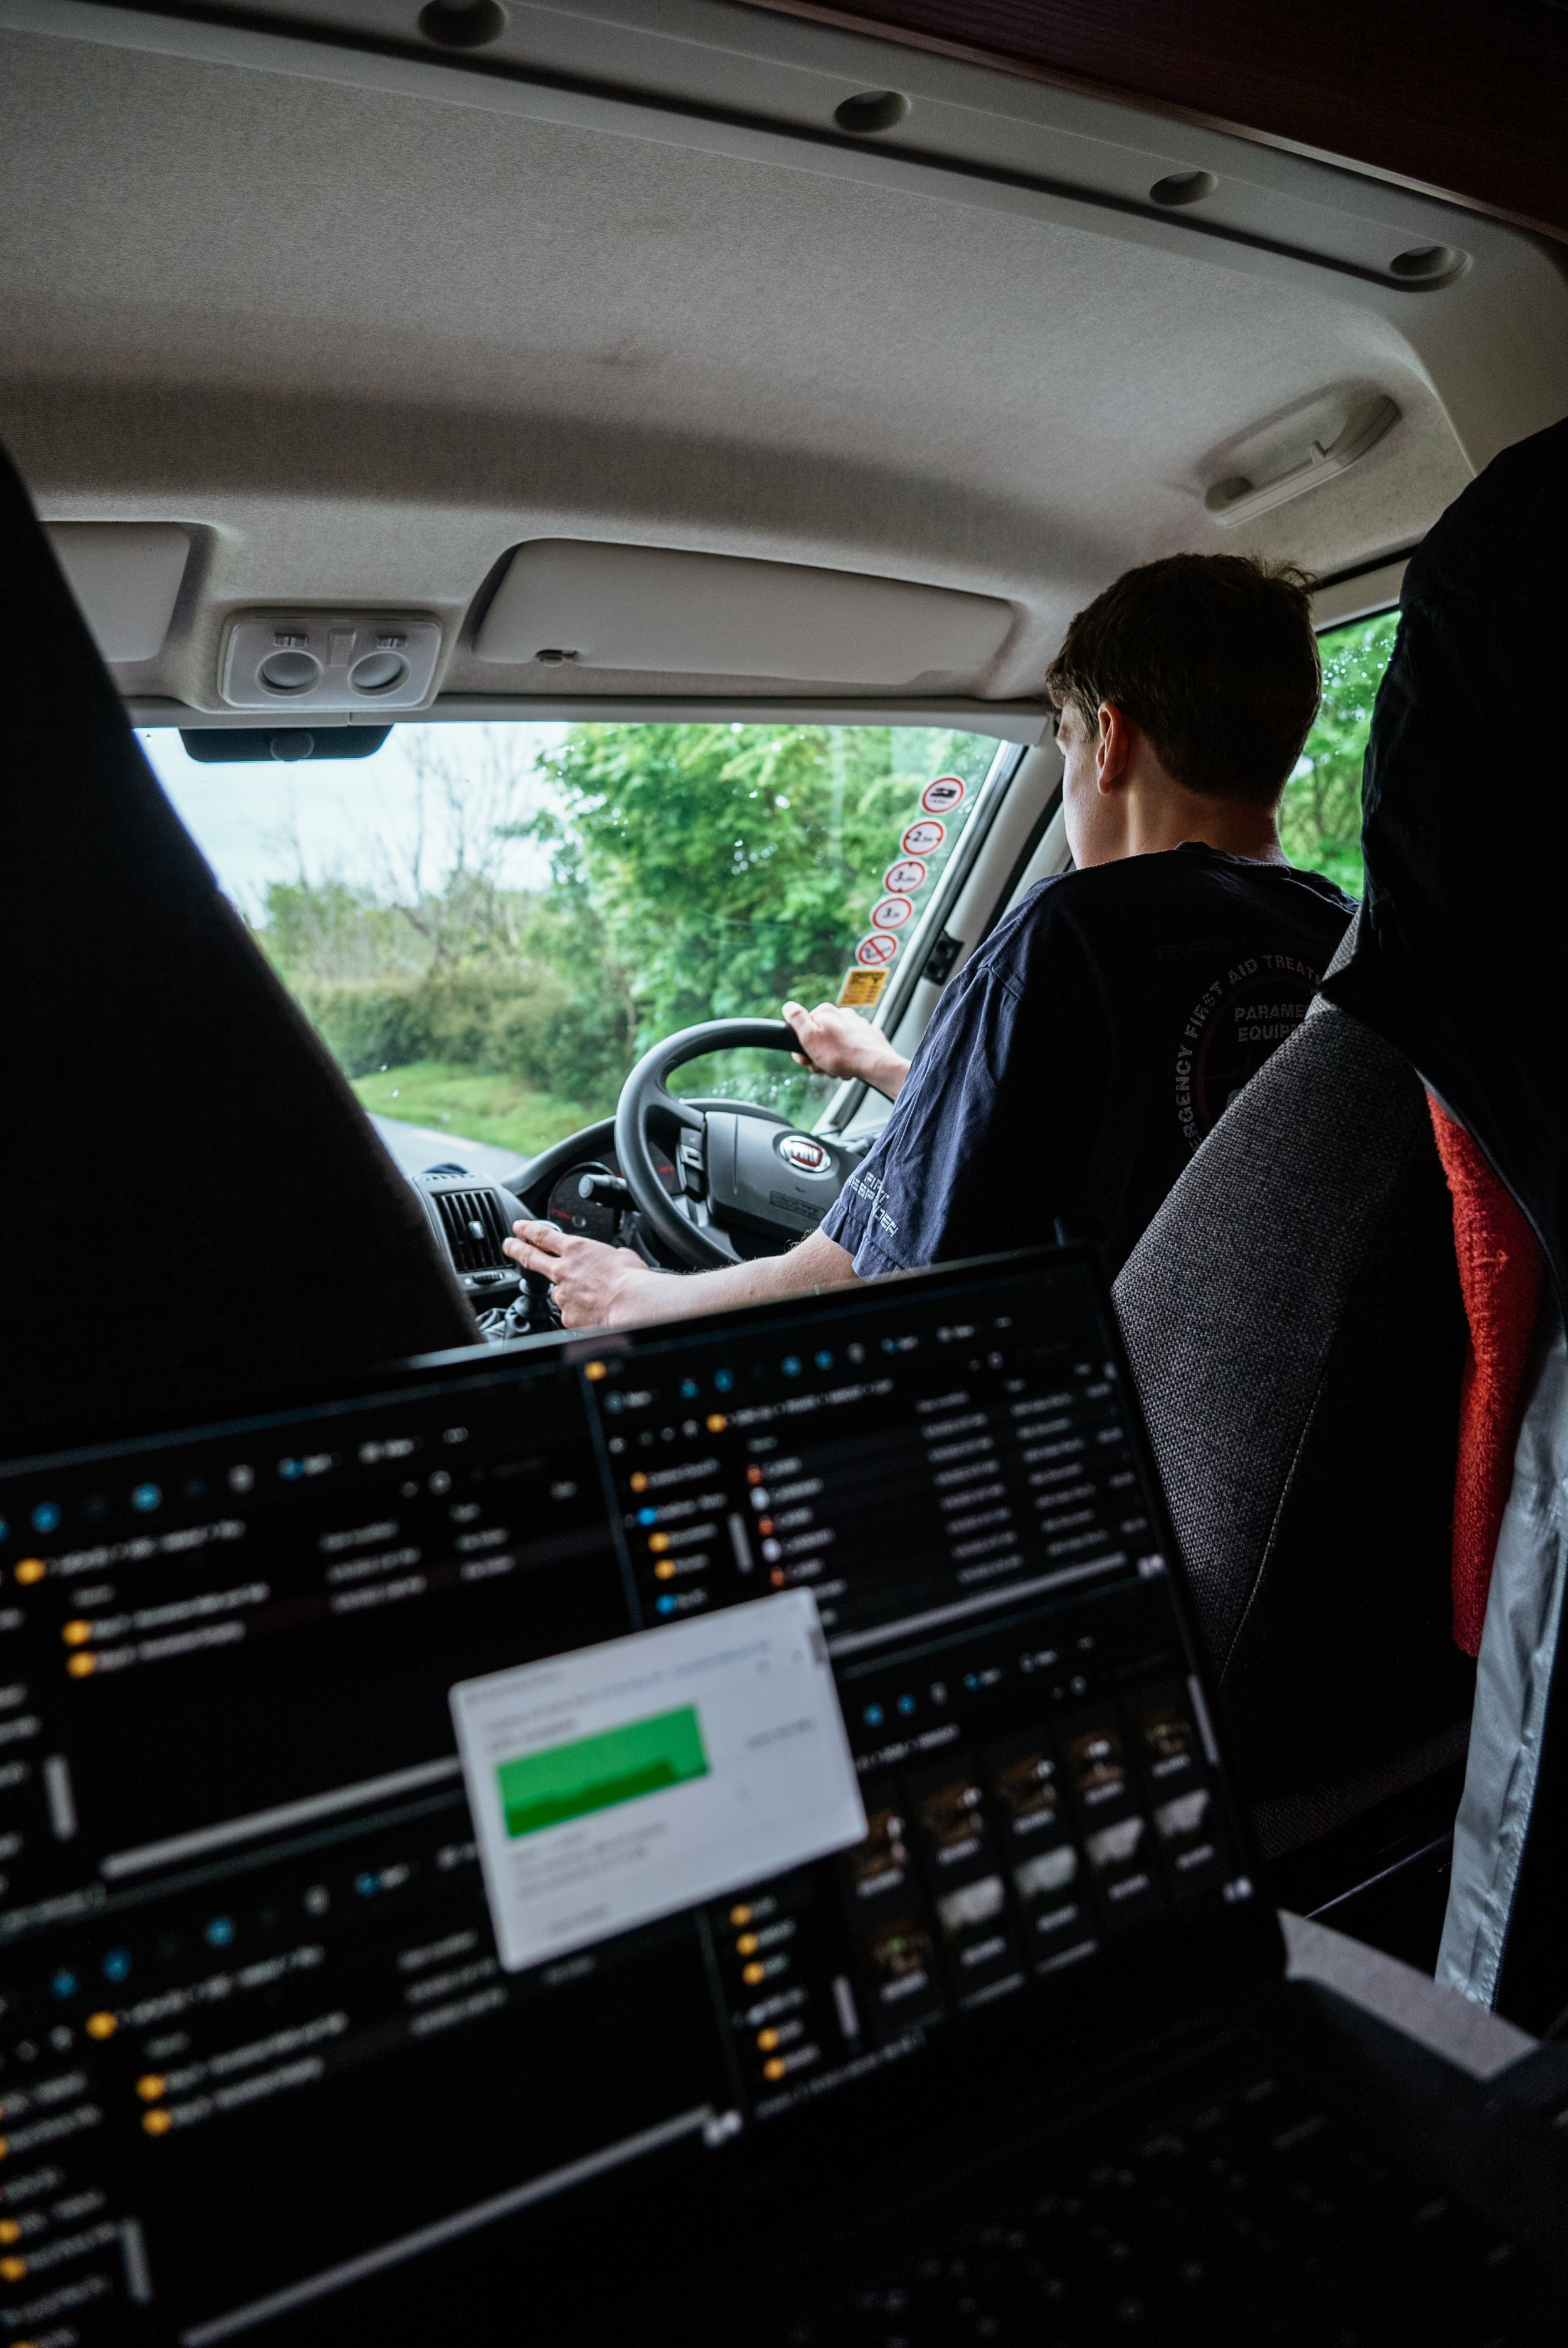
So, once I have everything organized I’ll begin to “pull selects.” Essentially, this means I will pick out the best moments of every clip. When I film I try to have 10 seconds of stable, usable footage with every clip. Some shots have moments that are out of focus, others are too shaky at the beginning or are too similar to a better lit clip a little later in the day.
After I have all the best moments selected from the b-roll, interviews and voiceovers I will begin assembling what the industry calls a “radio edit.” This stage essentially just pieces the story together. Since I’ve watched all the footage at this point in the process I’m beginning to have an idea on where the story may go.
When it comes to crafting this story arc, I’ll think through what I wrote about in the previous section of how to make an adventure film part 2 with each film having a beginning, middle and end. Then, I’ll put interviews and b-roll in to supplement the story arc. It’s in this stage that the storytelling really begins to shine. It’s not as much about making things look polished and pretty here but more about getting an idea of how the story gets told. To learn more about how craft stories, check out some of my favorite films that I’ve created by clicking below!
How I Pick Music

I love this part for a lot of reasons. Firstly, I love music. I minored in music in college, I write songs and occasionally perform live at coffeeshops locally. So, getting a chance to actively listen to music and find that perfect song to fit the vibe of the adventure is always a fun challenge. Secondly, music can create such a strong emotional reaction to the footage that I shot. Putting a slow classical violin melody under an already vulnerable interview will heighten the emotional response which can be beautiful.

Thinking Through Musical Style / Genre
When it comes to the actual music selection process I always keep a couple of things in mind. If it’s for a client, I will watch their previous films and try to deduce what type of music they’ve used in the past. If it’s not for a client, or they’re flexible on music style, I’ll begin to browse through a few music licensing software websites to choose my songs. As stated above, I believe music has a really profound effect on my films so invest a decent amount into different sites to have options.
I’ve found that Musicbed is great for cinematic, singer-songwriter and upbeat rap music, Artlist is preferred for rap and world music, Soundstripe is awesome for fully copyright free tunes. I have a huge temptation to put lyrics into a lot of my films but about 95% of the time, it’s not the right fit for the story so lean towards instrumental music as it’s a bit more timeless.
Creating a Cohesive Color Look
Once the music is chosen and the clips have been assembled into an order that brings out the best of the adventure, it’s time for color. You may notice that adventure documentaries don’t look like a lot of Hollywood movies and a huge reason for this is color, lighting and sound mixing. It’s often a pretty small crew for a lot of these projects but having a master ability to color clips can really elevate the production value of your films. Anything that’s way too overexposed or has weird skin tones can throw the audience’s attention away from the development of your story. Editing the color can sometimes save poor cinematography so developing this skillset can go a long way.
How I Edit The Colors
When I edit color I will first balance the exposure values - basically, I’ll make sure it’s not too bright or too dark. There’s a scientific way to do this by using a “waveform” but even without knowledge of that process you can just use your eyes and gauge for yourself. Once that’s balanced, I’ll dive into each specific color for each clip. I’m a big fan of greens that are darker and lean towards blue so will tweak that. I’ll adjust every skin tone to be accurate and reflect reality. I’ll outline specific areas of the image and use those “masks” to bring the focus to a certain subject matter. There’s a lot that can be done but it’s possible to go too far. Often, these adventure films take place outside so when you start to change the colors so much and get too stylized you may actually be sacrificing the genuine nature of the adventure. Make it look good but don’t go over the top.
Finishing the Film!
Now that the color is done it’s almost time to release the film. I’ll go through and make any last minute adjustments. I’ll balance the sound levels by applying eq and taking out certain frequencies. I’ll rethink how a certain scene can be strengthened or shorter, etc, etc.
Once you get to the point where you feel proud to release it to the world, it’s time to put it out. If you’re wondering what the process looks like, check out the first section of this three part series on how to make adventure films because I talk all about the distribution process. Whether your sending the video to a client, a friend or posting on social media there’s a certain amount of vulnerability that’s required to accept whatever feedback may come your way.
Learning From Your Previous Film

The important part of this post-release period is to think through what you can do better on the next project. Small lessons over time lead to huge progress. When I was first starting to make adventure films 7 years ago there were lots of incremental steps taken before getting films published with Outside Magazine or shooting for bigger name clients like Microsoft, Garmin and Ironman to create documentaries. It doesn’t happen overnight but if you continue to make stuff, learn how you can improve then make more stuff it’ll lead you to a direction where you’re creating work that really stands out.
That’s all for this series, if you’ve enjoyed learning about how to make high quality adventure films feel free to let me know! I’m always happy to chat with folks and help them in their filmmaking journey, regardless of where you’re at. So, hit me up :)
Connect with Roo

Roo is a commercial/documentary filmmaker and photographer based in Boulder, Colorado but travels all around the world for his filmmaking career. He has produced films for Outside Magazine in Ireland, camera operated for Netflix in the Rocky Mountain West, photographed among indigenous communities in Peru and Ecuador, directed videos with professional climbers in Mexico and has received notable recognition in his hometown of Orcas Island in Washington State for his work telling uplifting stories in the outdoor space.